Online Registration
How To Register ONLINE
Online registration is happening as of July 25! This is a fairly easy process and will allow you to get all of your paperwork done and out of the way before school starts without standing in line for hours. Just follow the simple steps below.
Create an Aeries Parent Portal account. If you already have one, great! If not, click the Aeries Parent Portal tab.
Beginning July 25, and continuing until August 7, you may use any internet-connected device to log into your Parent Portal and fill out the online registration forms. Step-by-step instructions are located on a tab to the left if you need extra help.
If you have difficulty with your Aeries Parent Portal or online registration, please come during our registration times: July 30 or August 1, from 1-7 pm.
Step-by-Step Registration Instructions
When You Log into Your Aeries Parent Portal
The image below displays at the top of the screen below the student's name and remains there throughout each of the data confirmation screens. You can return to previously completed screens by selecting them from the left-hand menu. All highlighted fields must be filled in order to complete registration. If completing by smartphone, you may need to scroll over to click buttons as the formatting is different than a computer.
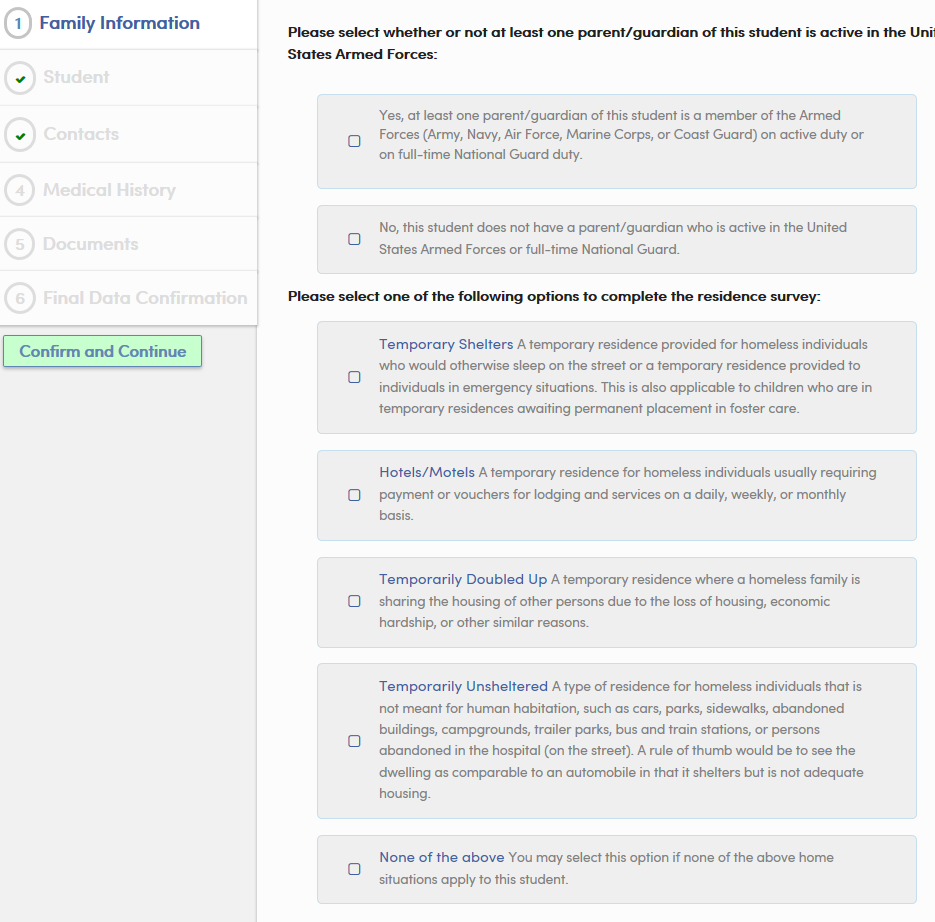
Step 1
Complete the Military and Residence surveys, then click "Confirm and Continue".
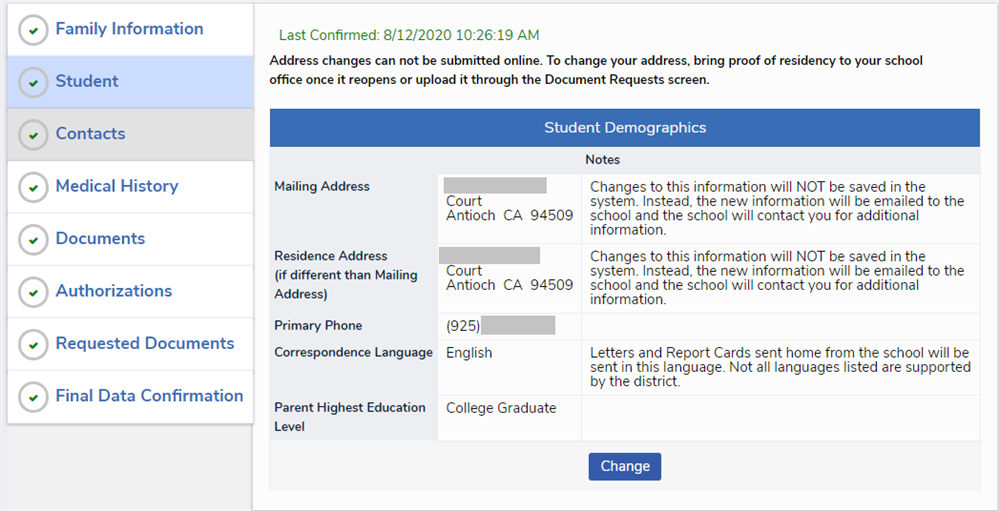
Step 2
Review the primary contact information for your student and click “Change” to update the information shown. If you need to change your address, enter the new information and either upload documentation of your new address at the end of this process or contact your school office to bring in the documents to verify your new address.
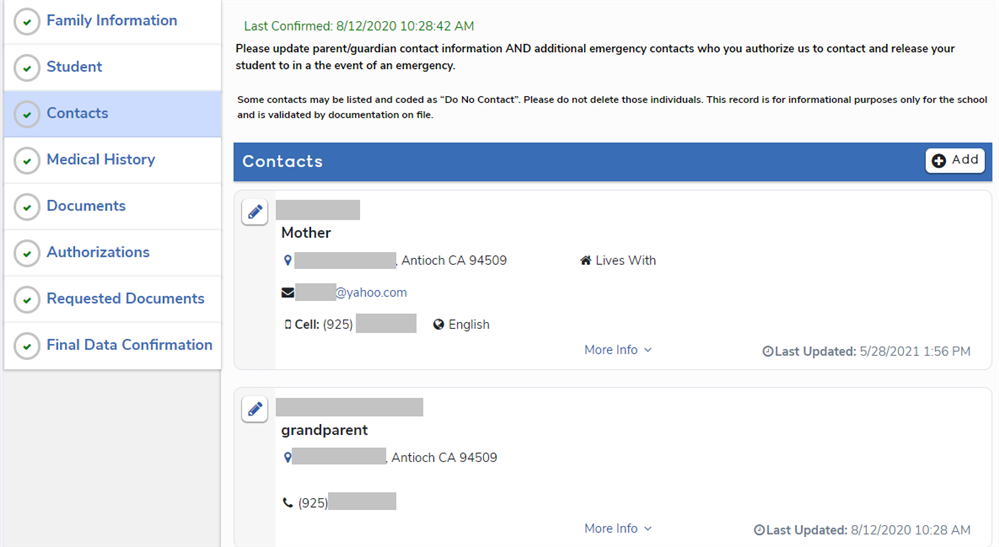
Step 3
Update Parent/Guardian and Emergency Contact information by clicking the pencil next to each contact that needs to be updated. YOU MAY NOT DELETE A GUARDIAN FROM THE SYSTEM. If you have been to court and received documents removing parental rights from a parent, you MUST provide a copy of the court documents to the school, and we will make the adjustments for you. If a guardian has moved away but still retains parental rights, you may request an office employee to move them to the bottom of the contact list, but we will not remove them completely.
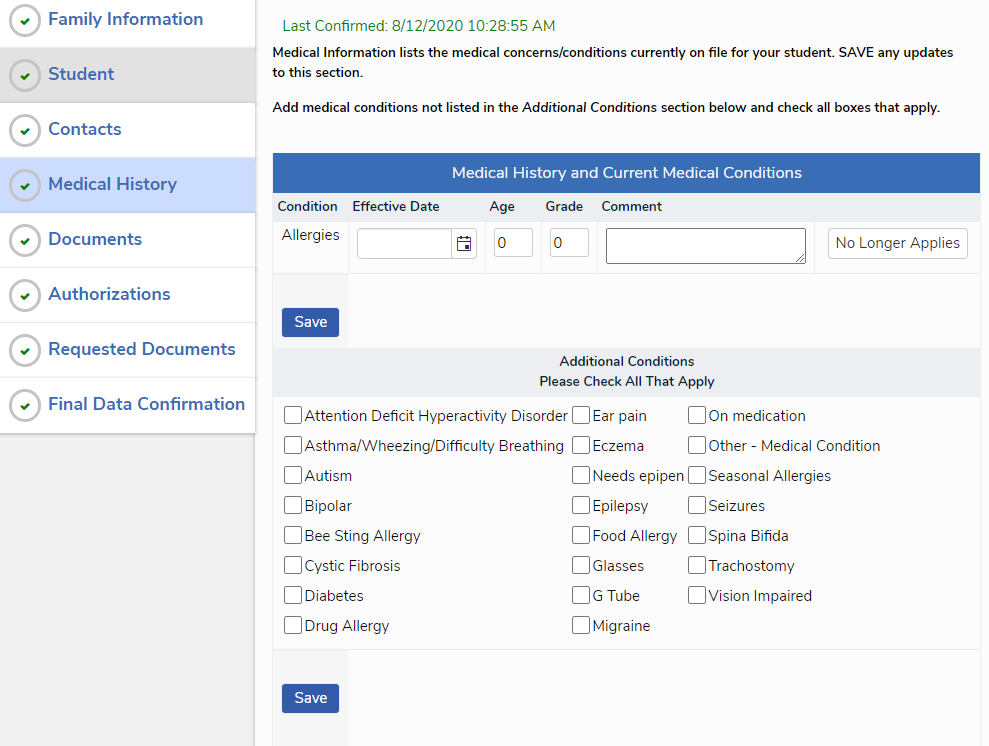
Step 4
Update, add, and remove entries on your student’s Medical History screen to make sure the school is aware of any health concerns regarding your student. Current conditions are listed at the top and additional conditions can be added by checking the box next to the condition in the section at the bottom.
Step 5
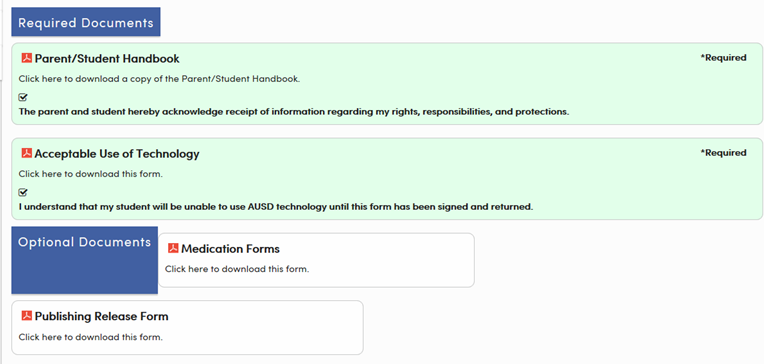
You must download any documents listed in the “Required Documents” section. Simply click anywhere in the box to open the document in a new window and check the box confirming that you have received the document. Clicking on the Optional forms will open each one in a new window as well. If you would like hard copies of any documents, please contact your school office. The documents listed may vary slightly by school.
Step 6
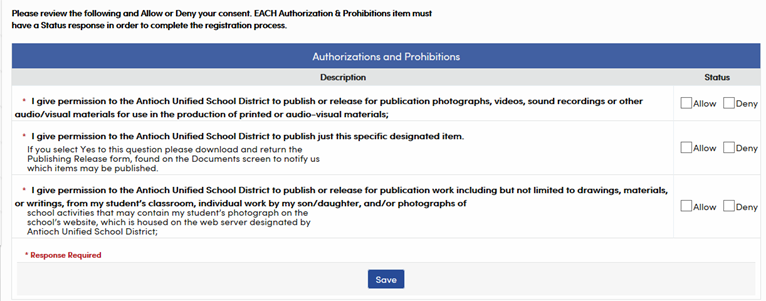
Answer the questions below to indicate if the Antioch Unified School District may use your student’s work or image in the ways listed below. To allow your student’s image and/or information to be used only for specific purposes such as yearbooks, and graduation materials, fill out and return the Publishing Release form listed under Optional Documents on the previous screen. **TIP** If you cannot see the check boxes, your screen may be too small to fit the entire page. Check at the bottom to see if there is a scroll bar. The Status boxes may be located off the screen to the right.
Step 7
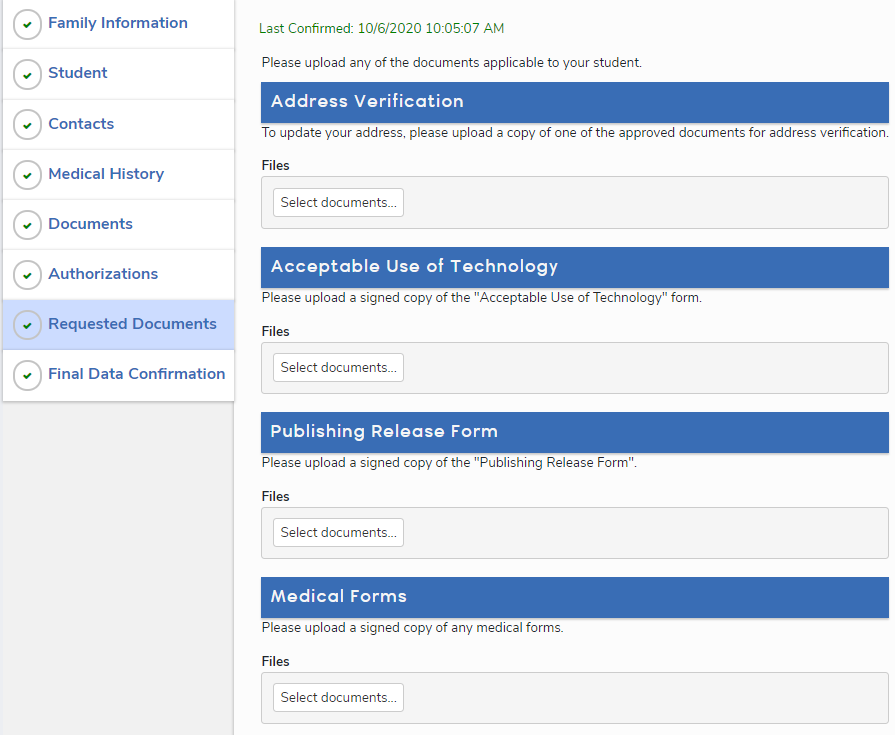
You may upload documents here. If you have a 7th or 8th grade student and have not provided proof of the TDaP immunization, please upload it in the Medical Forms section. Students will not be allowed to attend classes without proof of immunization on file. If you cannot upload documents, we will provide a method to turn them in to the school directly.
Step 8
You may verify information from any of the steps above by clicking on the tabs to the left of your screen to switch between them. If any page does not have a check mark, please revisit that section and see what needs to be done to complete the steps. Once you have double-checked every section you need to click the “Finish and Submit” button at the bottom of the screen, verifying that you have read and completed all the steps accurately.

Step 9
This is the final screen you will see. The school will be printing out all the documents you have provided to us for signature at a later date. As long as you see green check marks all the way down the left of the screen, you are done! You may review or upload more documents at any time during the open registration window if you need to. If you are having trouble, or if you do not see check marks for any section, you may contact the school office M – F from 8:00 AM to 3:00 PM for assistance.
